
by Malejemplo · DaVinci Resolve OFX plugin
Everything a $500+ plugin does for your grade — without the price tag.
One effect for crop, lens-tied vignette, stock-matched grain, and skin-safe contrast — 13 presets included, and every parameter still adjustable by hand. Pay what you want, including free.
Pick a mood, see the difference
Same plugin, five very different results. Choose a preset, then drag to compare.
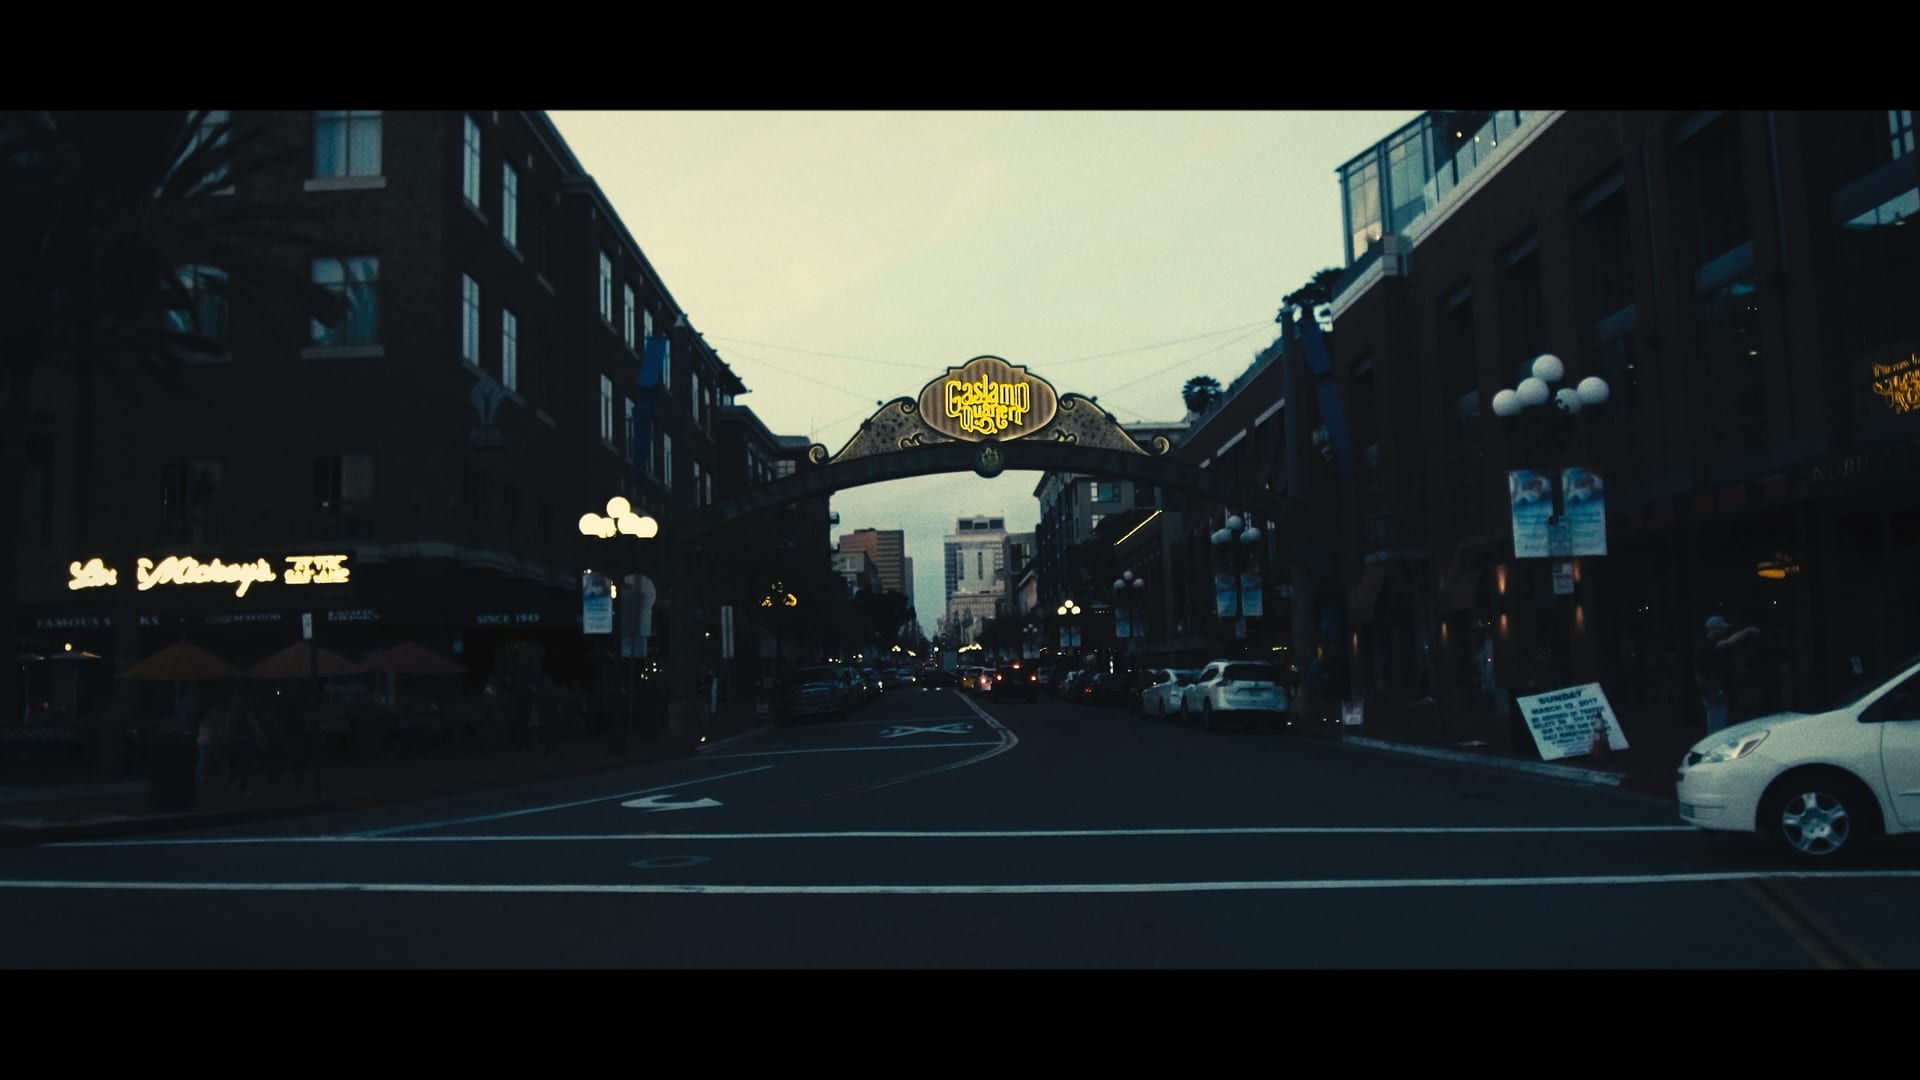 Cinema 35
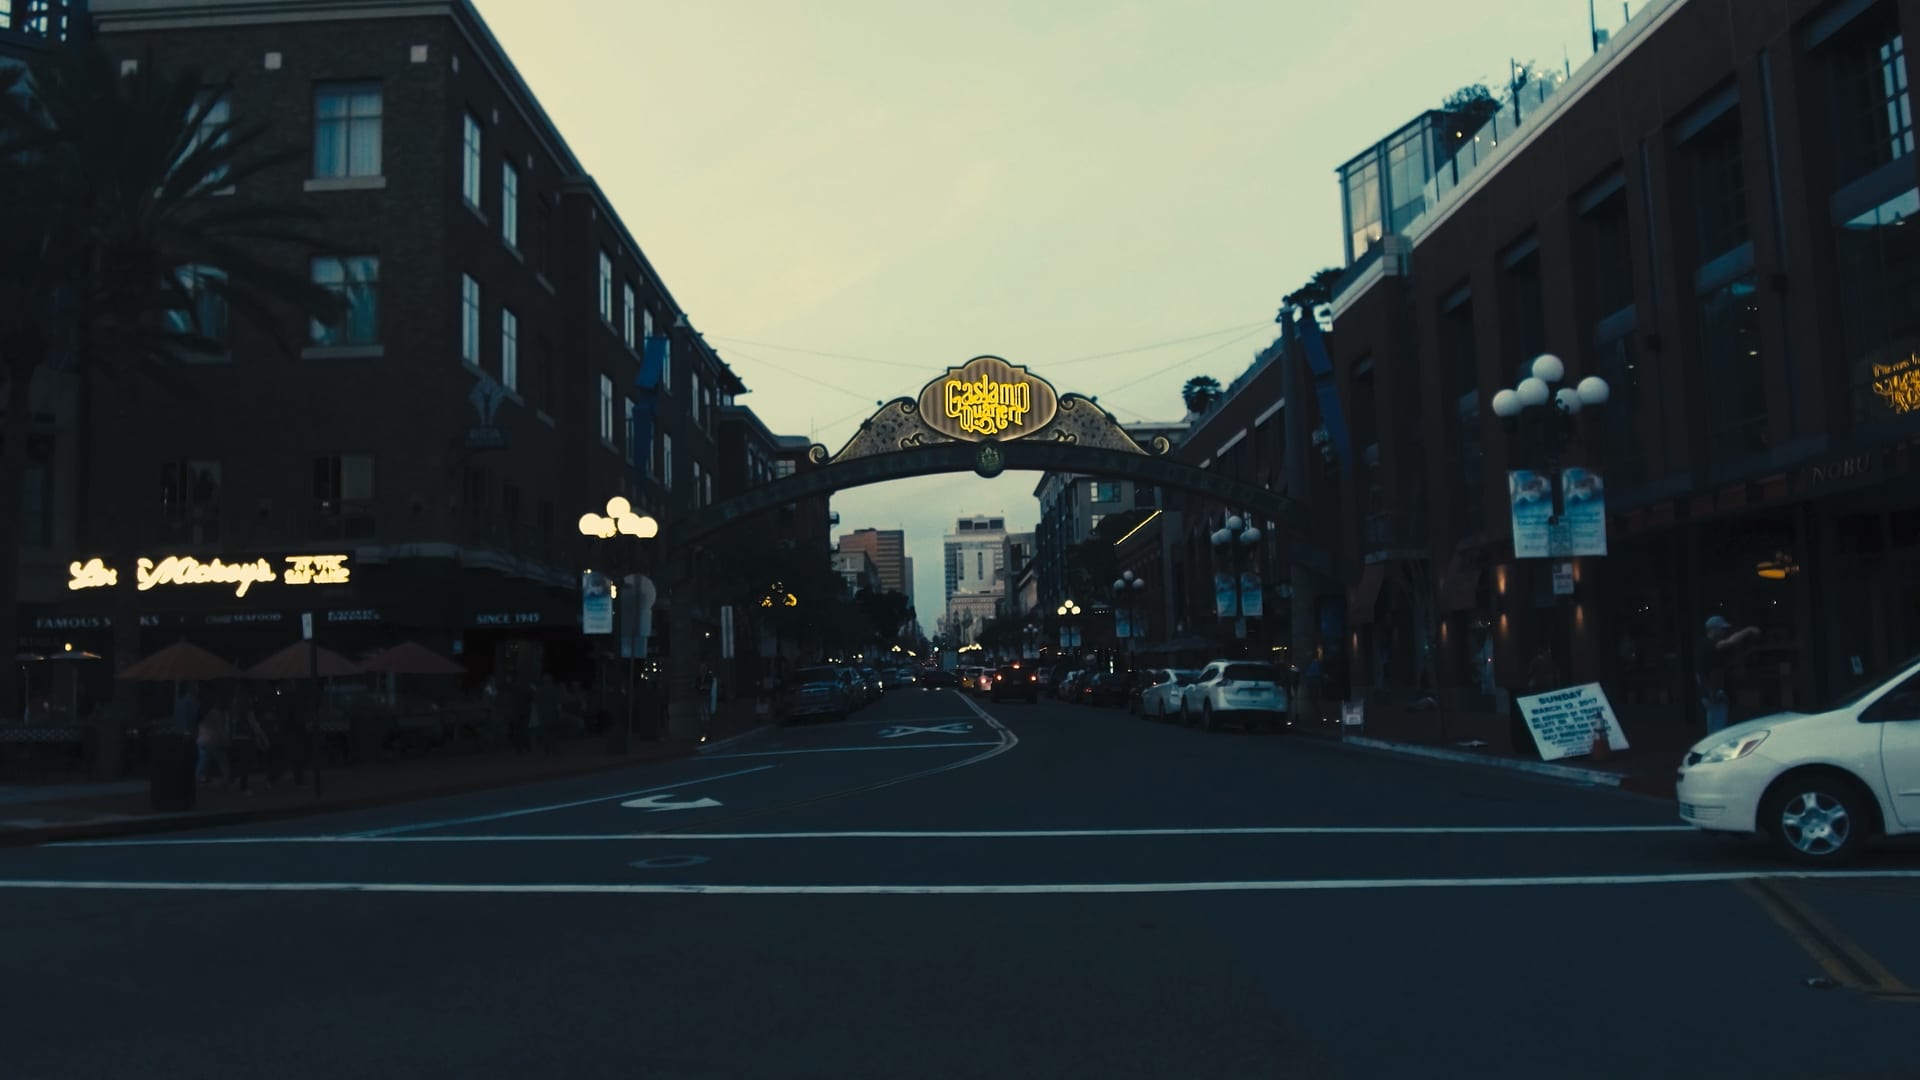 Before
See it in Resolve
Real screen capture, not a mockup — presets, live parameter changes, and the diagnostic preview mode.
Inside the panel
A recreation of the real GATE.24 controls, section by section — click a section to open it, hover a control to see what it does. Drag the sliders; they're just not wired to a real image here (that math only runs inside Resolve).
General
Hover a control to see what it does.
Essentials — Everyday presets — cinema/editorial and social platform formats. Sets Crop + Vignette + Grain + Contrast all at once. Reframe and Crop Offset are left untouched, always manual.
By Genre — Presets with a strong, deliberate genre/mood identity. Sets Crop + Vignette + Grain + Contrast all at once. Every parameter can still be tweaked by hand after applying one.
Advanced — Off: only Preset, each section’s ‘Enable’ toggle, and its Intensity. On: every fine control in each section.
Preview — Normal: the image as usual. Vignette: a color tint showing where/how much it darkens. Grain: neutral gray + pure grain, to judge size/texture. Skin/Midtones: shows where contrast protection is kicking in.
Enable Bars — Turns the crop bars on or off.
Enable Vignette — Turns on the radial vignette, calculated over the visible window (never under the bars).
Enable Grain — Turns on the procedural film grain, limited to the visible area.
Enable Contrast — Turns on the final contrast curve — an S-curve over Rec.709.
Crop
Hover a control to see what it does.
Format — Calculates the V/H bar thickness for this aspect ratio. You can adjust the sliders by hand afterward.
V — Thickness of the top/bottom bar (letterbox), in % of frame height.
H — Thickness of the left/right bar (pillarbox), in % of frame width.
X — Shifts the crop window horizontally, as a fraction of frame width (does not change the window size).
Y — Shifts the crop window vertically, as a fraction of frame height (does not change the window size).
Feather — Soft transition between the image and the bar, in % of frame height/width. 0 = hard cut.
Roundness — Rounds the corners of the visible window. 0 = sharp corner; at maximum it becomes an oval/capsule shape, never breaks.
Color — Color of the crop bars.
Opacity — Opacity of the crop bars.
Reframe
Hover a control to see what it does.
X — Shifts the source image horizontally underneath the crop, as a fraction of frame width. The crop itself doesn’t move.
Y — Shifts the source image vertically underneath the crop, as a fraction of frame height. The crop itself doesn’t move.
Zoom — Zooms into the source image (magnify only), useful when panning alone isn’t enough to recompose the shot.
Vignette
Hover a control to see what it does.
Optics — Shape and starting point of the falloff, based on the type of optics you want to evoke.
Intensity — Positive darkens (classic vignette); negative brightens — a ‘light leak’/veil effect that lifts the edge shadows far more than the highlights. 0 = no effect.
Softness — Edge hardness: 0 = narrow/hard transition, 1 = wide/soft falloff.
Grain
Hover a control to see what it does.
Stock — A fixed recipe of size and texture per negative format — not a continuous scale.
Intensity — How much the grain blends over the image. 0 = invisible, 1 = full Overlay blend.
Size — Multiplier on the base grain size of the chosen stock. 1.0 = that stock’s natural size.
Color — 0 = monochrome grain (recommended, like real film negative), 1 = grain with independent color noise per channel.
Animation — 0 = static grain (no flicker), 1 = a new pattern every frame. In-between values change more slowly.
Contrast
Hover a control to see what it does.
Intensity — Strength of the S-curve: deeper shadows, more open highlights.
Shadow Lift — Lifts the black floor for a negative/film-like touch instead of pure digital black. Independent of Intensity — raise it gradually.
Protection — Dampens contrast so it doesn’t ‘clip’ certain areas. Midtones: by luminance range. Skin: by hue, isolating real skin tone. Both: combines the two.
Skin Tone — Use the eyedropper to sample a real skin tone from this shot — Skin (hue) recalibrates automatically instead of assuming a generic hue.
Hue Tolerance — How wide the Skin detection opens around the sampled tone. Wider covers real skin variation better; narrower separates from similar colors like wood.
Saturation Range — Same as Hue Tolerance, but for the saturation band — excludes near-neutral grays on one side and very vivid colors on the other.
13 presets, two groups
Essentials for everyday cine and editorial/social formats. Genrefor a strong, deliberate mood. Every preset is a starting point — nothing is locked after you apply one.
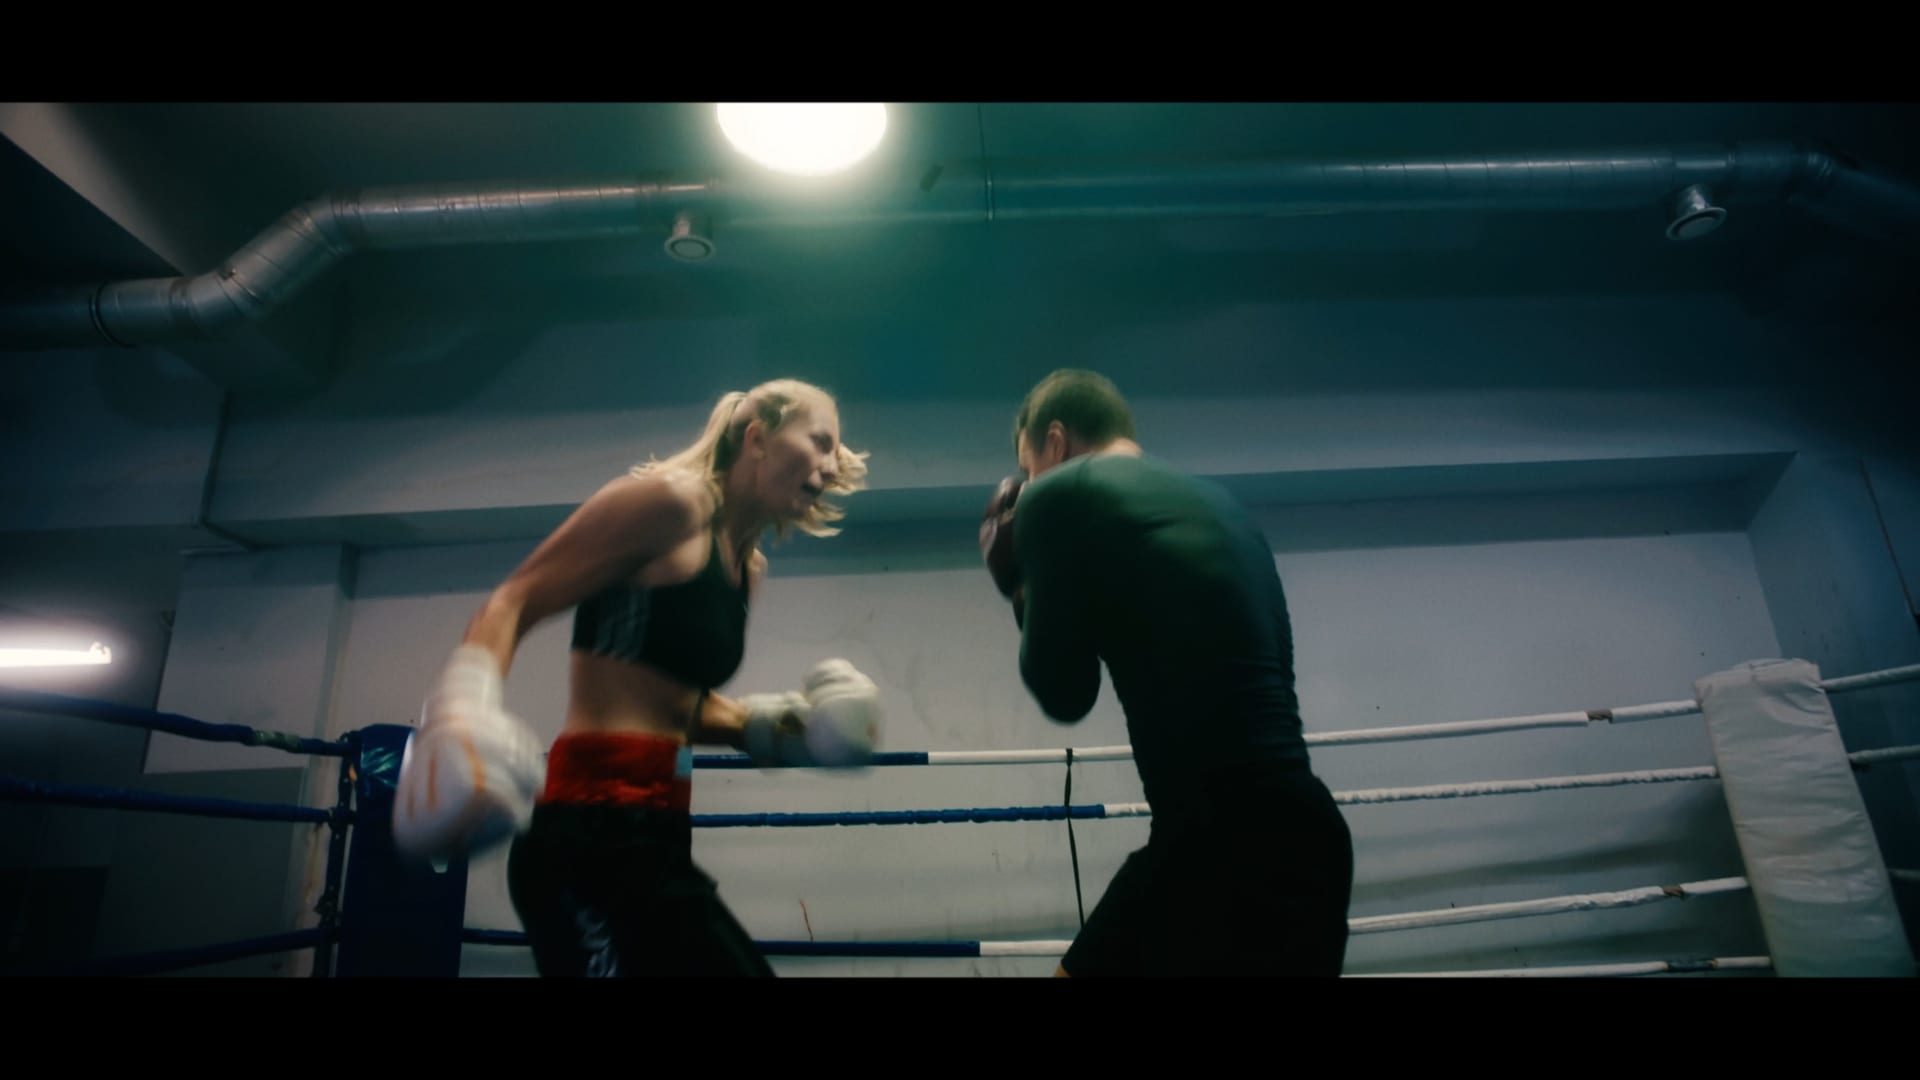
2.39:1Cinema 35
Anamorphic widescreen, 35mm grain.
 2.20:1
Cinema 65
Large-format restraint, 65mm grain.
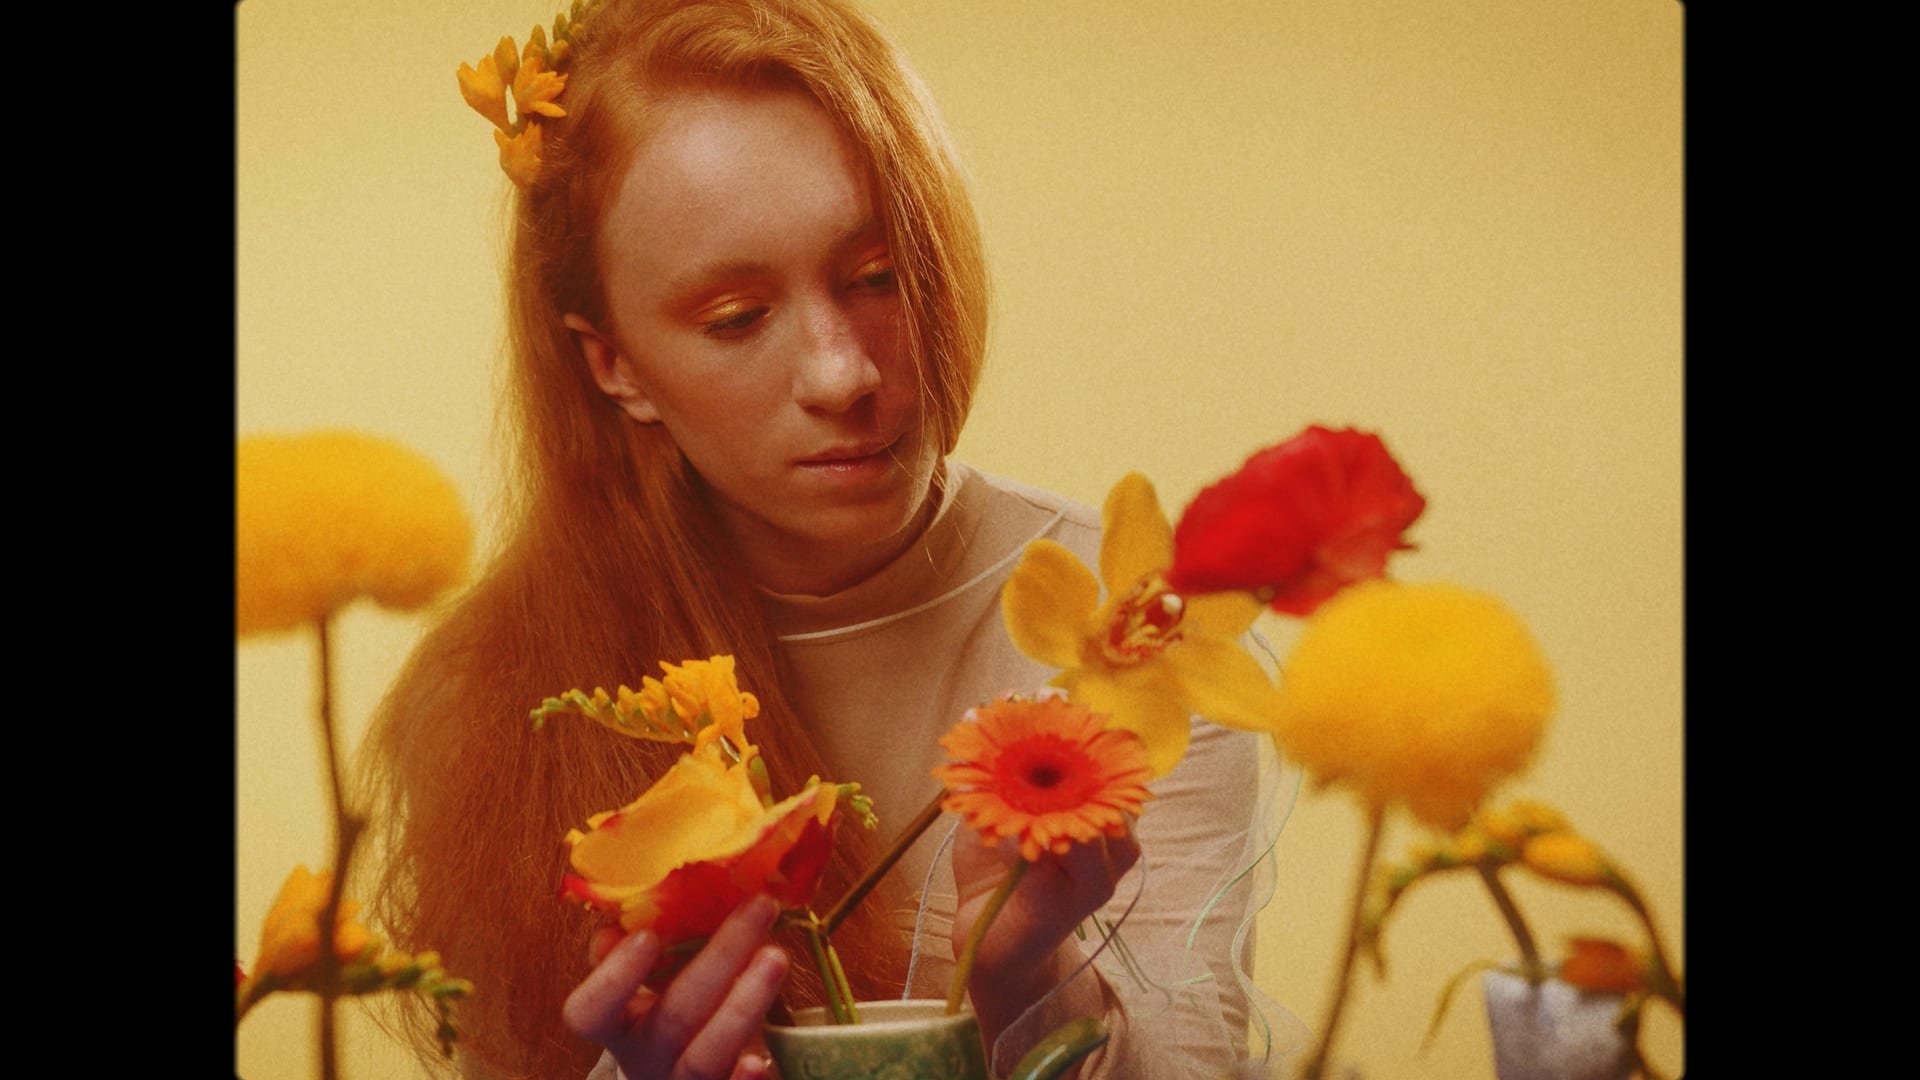 4:3
4:3Editorial 4:3
Boxy, printed-page contrast.
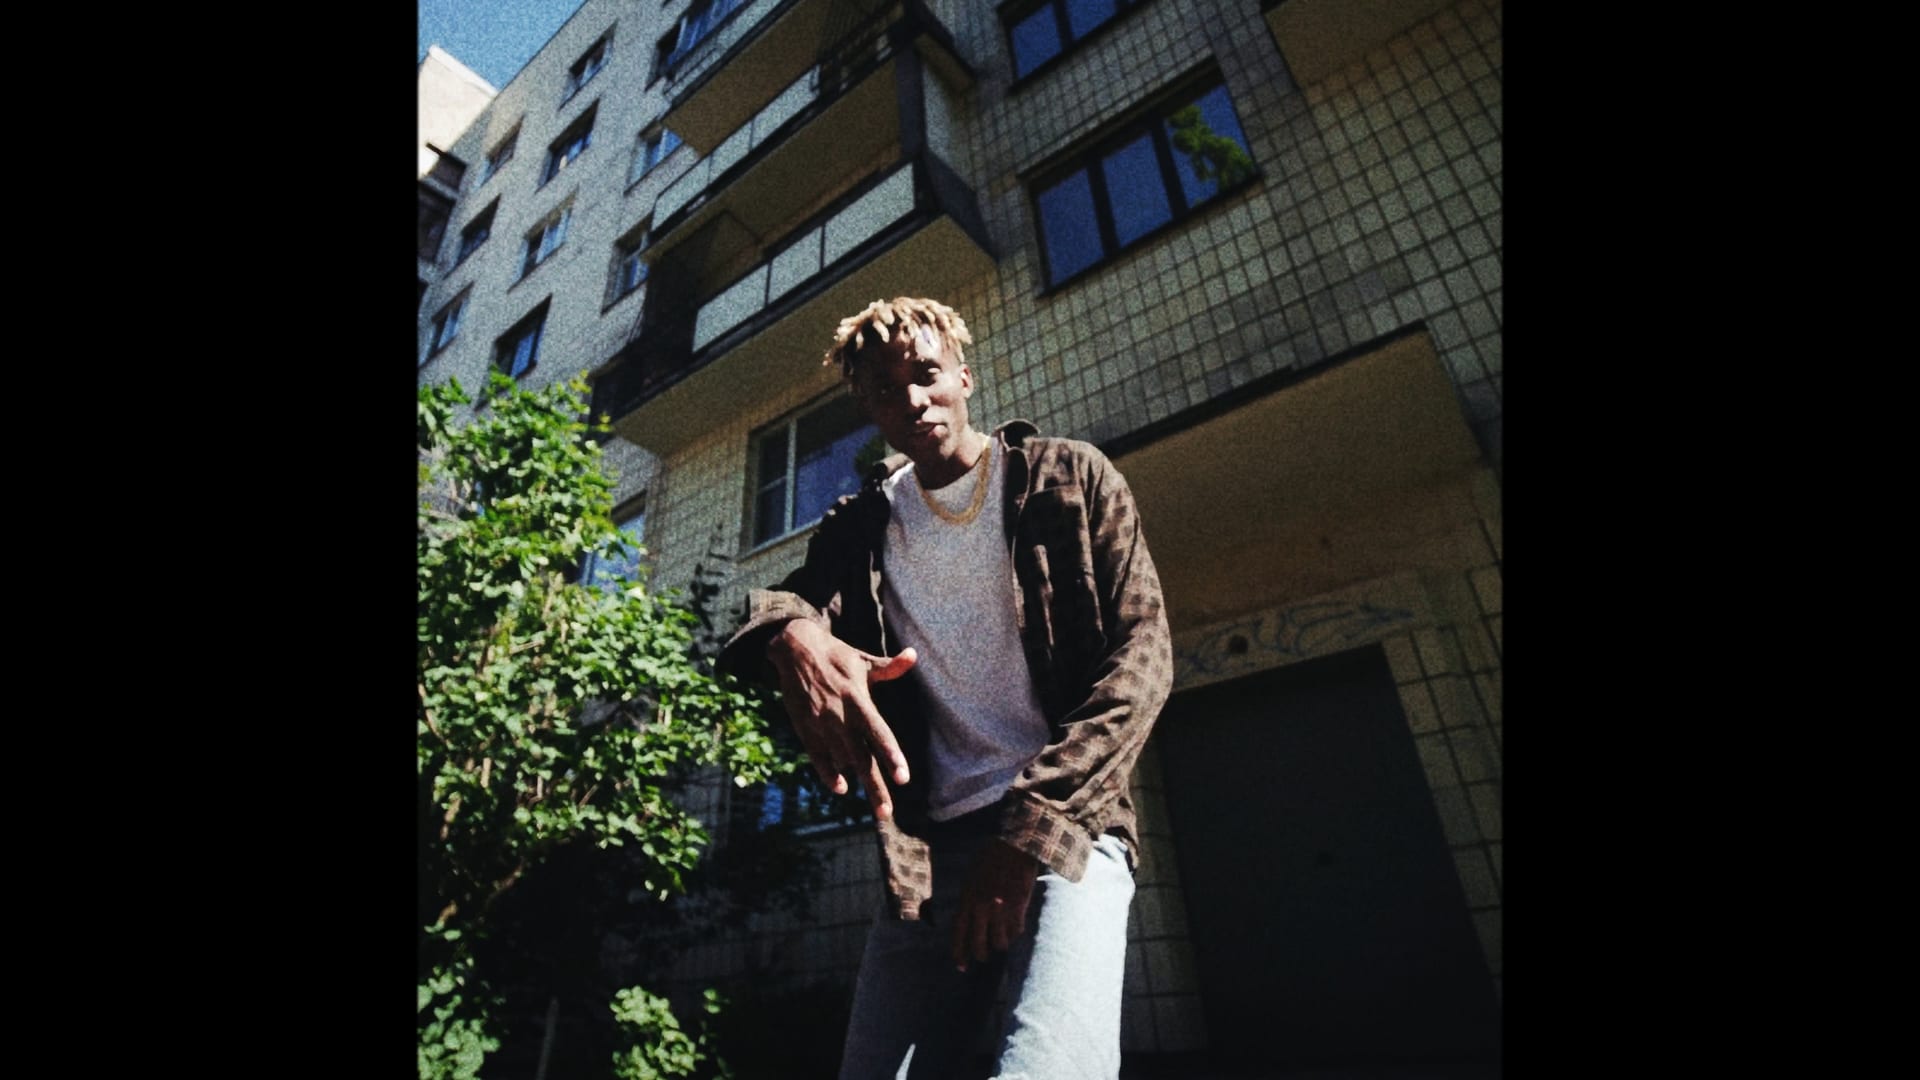 1:1
1:1Urban Editorial
Square crop, punchy skin-safe contrast.
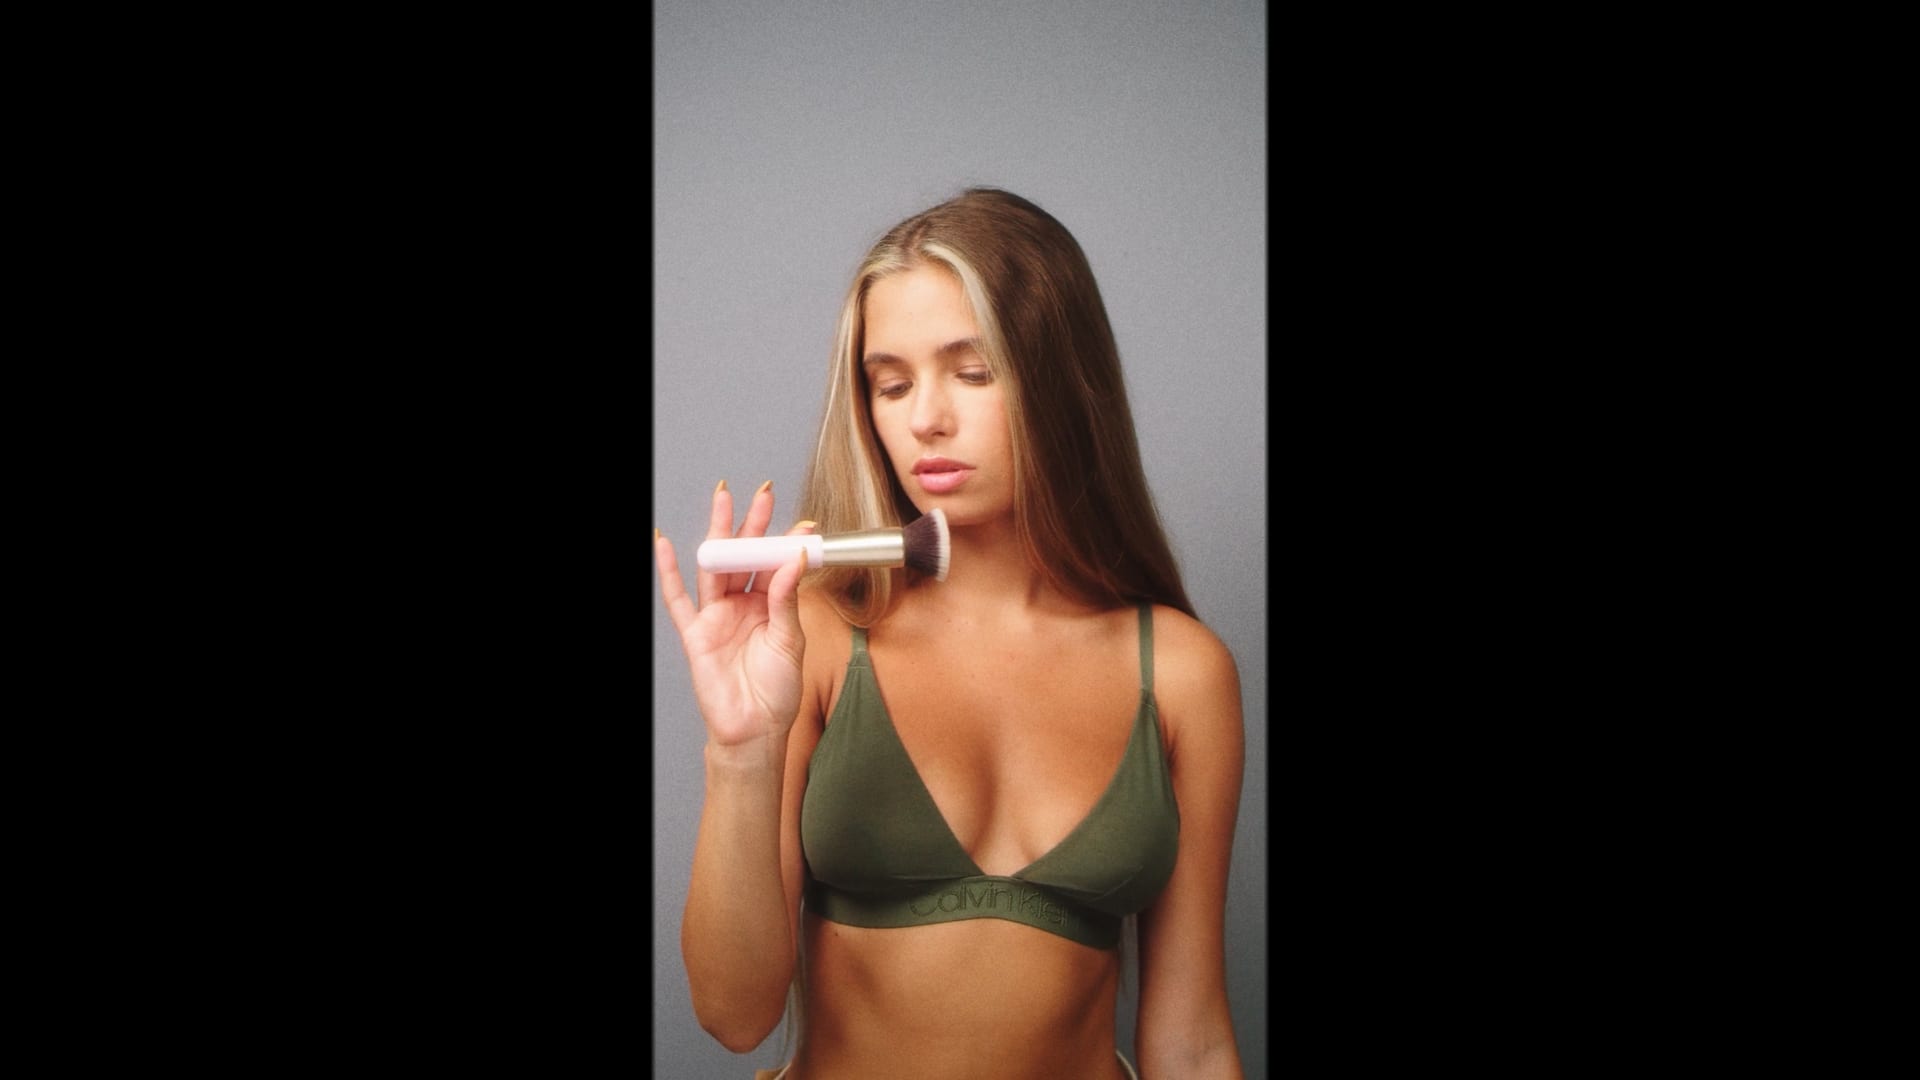 9:16
9:16Social 9:16
Vertical delivery, light touch.
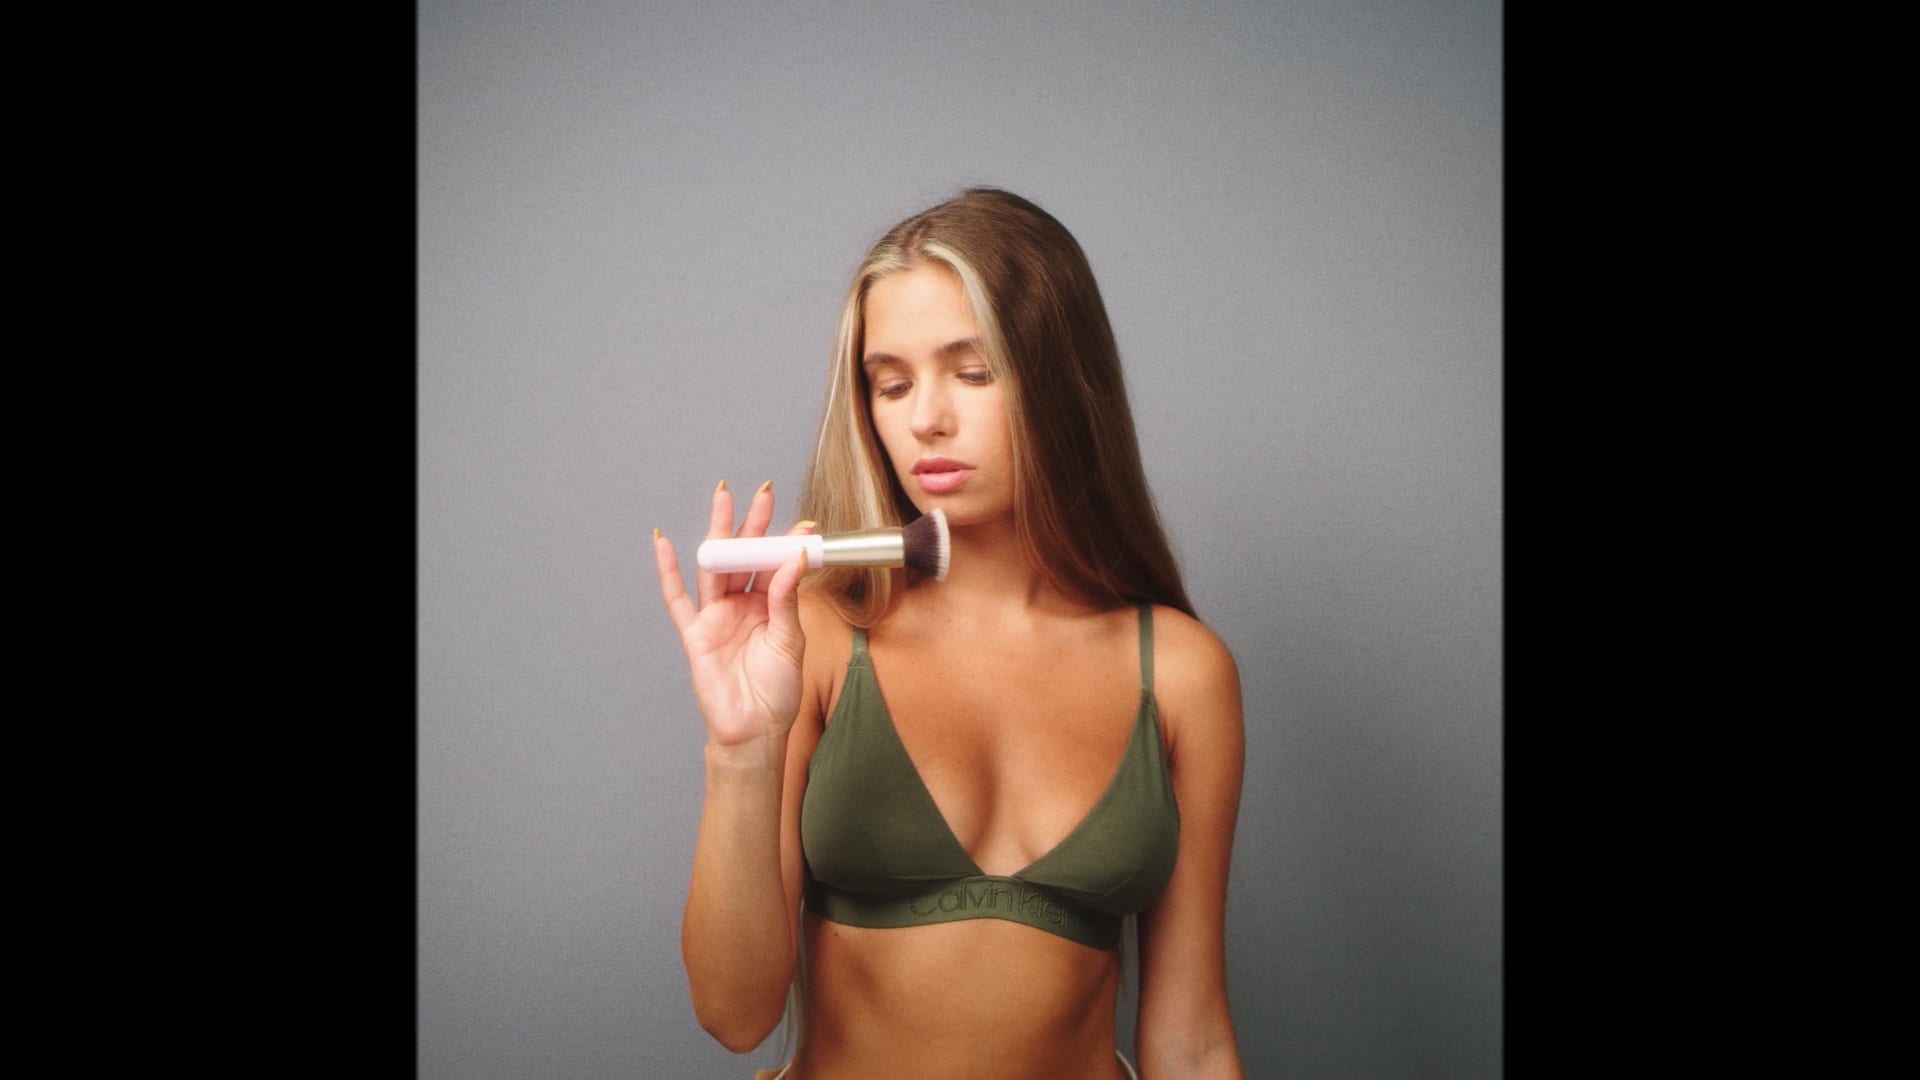 1:1
1:1Social 1:1
Square delivery, light touch.
 4:5
4:5Social 4:5
Portrait delivery, light touch.
How it compares
| Feature | Dehancer | Film Look Creator | GATE.24 |
|---|---|---|---|
| Price | $500+ | Free | Pay what you want (can be free) |
| Multi-format crop bars | No | No | Yes |
| Vignette tied to lens character | Generic | Generic | Yes |
| Grain by camera stock | Yes (60+ stocks) | One generic grain | Yes (8/16/35/65mm) |
| Skin-tone protection | Not the focus | No | Yes, with per-shot eyedropper |
| Ready-made presets | Few, build your own | 7 generic | 13 (Essentials + Genre) |
| Learning curve | High | Medium | One click, still hand-adjustable |
What else it does
Diagnostic preview
Overlay modes for vignette, grain, and skin-tone detection show exactly where and how hard each effect is acting — no more guessing.
Per-shot skin-tone calibration
Sample the real skin tone in a shot with a native color picker instead of relying on one fixed hue assumption.
GPU-accelerated
Runs on OpenCL — real-time preview, no render-to-check.
9 crop formats
From 2.39:1 anamorphic cinema down to 9:16 vertical for social.
Try all 13 yourself
Pick a photo, pick a preset, see it live. This runs on CSS in your browser as a roughapproximation of the real recipe values from each preset — a quick feel for the range, not GATE.24's actual color engine (that's C++/OpenCL pixel math that only runs inside Resolve). For the real thing, see the before/after examples and the panel above.
Photo
Preset group
 Cinema 352.39:1
Skin + midtone protection · 35mm grain · approximation only -- not GATE.24's real color engine, see note below.
Requirements
- DaVinci Resolve
- Free version works — no Studio license required.
- Operating system
- Windows only for now. Mac support is blocked on hardware access, not ruled out.
- Language
- Plugin panel is in English. Installer runs in English or Spanish.